This article is an update to a previous Conspire blog entry posted by my colleague Michael Deutch in 2009. In that entry he used the famous 80/20 rule to illustrate 10 Mindjet MindManager features you may not be familiar with, describing how 80% of mappers use only 20% of the features.
I’m continuing this theme by showing an additional 10 features in an effort for everyone to get the most from the product as possible. I’ve used the product for twelve years, but like many of us, often find myself in the “20% comfort zone,” using the same features in a similar way time and again.
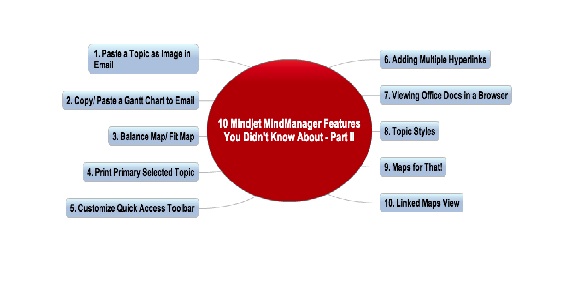
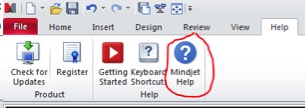
Here are 10 interesting features you might find useful, outlined briefly for better understanding. Refer to the robust Help File for more detailed instructions.
1. Pasting a Topic as an Image in an Email
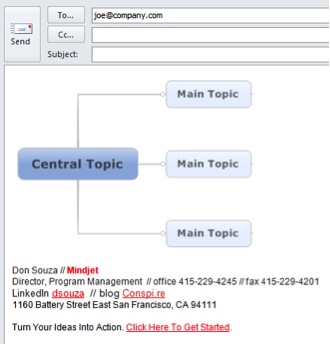
Let’s start with one of my simple favorites. Sometimes I just want to send a quick synopsis of my issues instead of the entire map. With this feature, my recipient gets the important info at the top of the email, visually!
Steps:
1. Pick the topic you want to send
2. Right-click or Copy to Clipboard
3. Put focus in body of the email
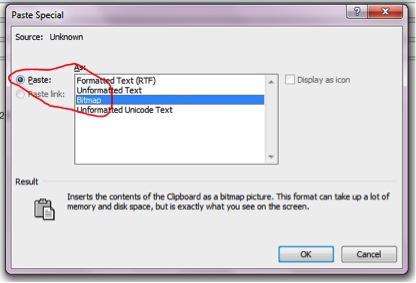
4. Use the Paste > Paste Special > As Bitmap option
The topic is pasted as a stand-alone bitmap where I know my email recipient will see its importance.
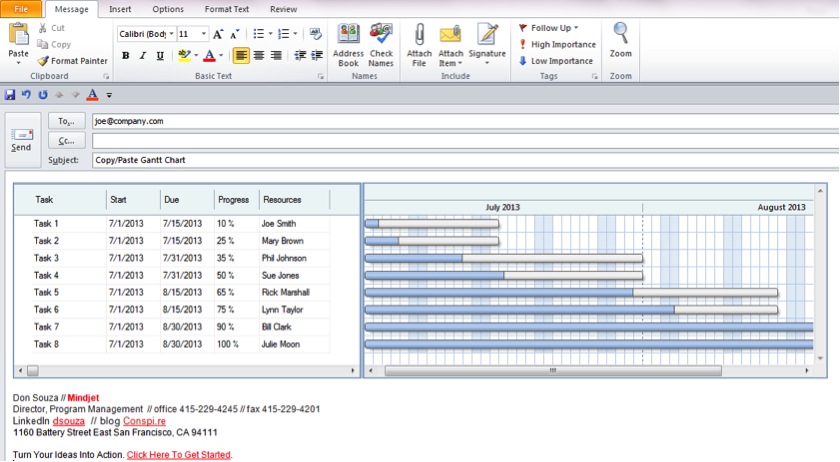
2. Copy/Paste a Gantt Chart to an Email
Similar to the ‘paste topic as image’ feature, I paste Gantt charts to quickly illustrate project progress in an easy to read email.
Steps:
1. Open a map which has previously entered Task Info, or add as necessary.
2. Go to View > Show Gantt Chart > Copy Gantt Chart
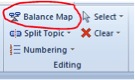
3. Balance Map/Fit Map
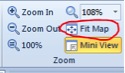
One of my most frequently used features is actually a combination of two: Balance Map and Fit Map. These features allow me to quickly “normalize” a map into an easily understandable summary view. Balance Map literally balances the topics between left/right and up/down, while Fit Map zooms or shrinks the view to fit the map canvas.
Steps:
1. Go to the Home tab > Editing group > Balance Map.
2. Then go to the View tab > Zoom group > Fit Map.
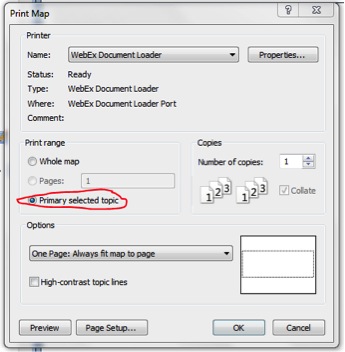
4. Print a Primary Selected Topic
As I get older I find myself printing in larger sizes for easier reading. And yes, I still use paper. A little-known feature is print ‘primary selected topic’. This enhancement was added several versions back once we realized that sometimes, maps can quickly become too unwieldy to print. Or, you might want to highlight and print the content from just one topic.
Steps:
1. Open a map and select the topic you want to print. Hint: Smaller topics with fewer or collapsed subtopics works best.
2. Invoke the File > Print command
3. Select the ‘Primary selected topic’ from the Print range section.
5. Customize Your Quick Access Toolbar
I’ve often wished my most frequently-used commands were always available and accessible right in front of me. For this, use the ‘Customize Quick Access Toolbar’ feature.
Steps:
1. Under Choose commands from, select All Commands or select a tab name to see only the commands on that tab.
2. Under Commands, select the command you want to add, then click Add.
3. To remove a command, select it in the list on the right and click Remove.
4. To return the toolbar to its original configuration click Reset.

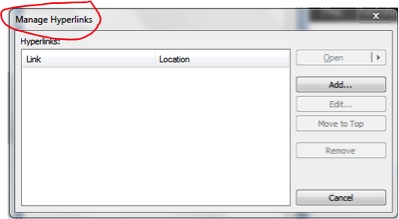
6. Adding Multiple Hyperlinks
Some of my Topics need more than one hyperlink to contain the variety of web content I want in my maps. For this, use the Multiple Hyperlinks feature.
Steps:
1. Go to the Insert tab > Hyperlink > Manage Hyperlinks.
2. Click Add to insert as many links as you’d like.
3. Notice the new “Multiple Hyperlinks” icon on the Topic.
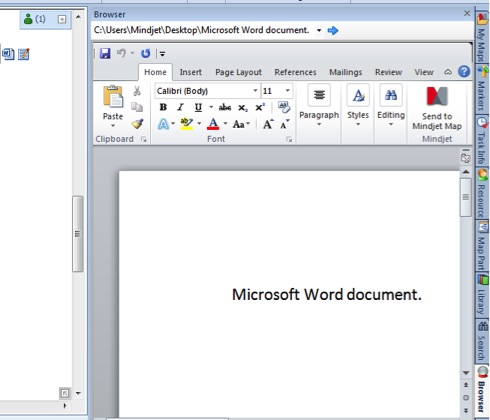
7. Viewing Office Docs in a Browser
While I use Mindjet for most of my daily productivity work, I still refer to Microsoft Office documents occasionally, particularly those sent to me from non-Mindjet users. I can view Office docs from within the product using the embedded Browser feature.
Steps:
1. Click on a Topic Hyperlink which has a Microsoft Office document as a link.
2. Notice the Office doc displaying in the embedded Browser window.
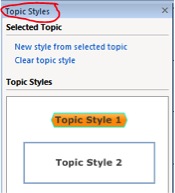
8. Topic Styles
A Topic Style is a set of formatting attributes saved with a unique name, which are then repeatedly applied to topics. I like to use this feature when I finally reach a preferred visual style, and want to use it over and over again. Topic styles are saved within the map, and can be applied and managed from the Topic Styles pane.
Steps:
1. Go to the Design tab > Object Format group > Topic Style
2. Decide on a style you like from an existing Topic, or create one using the varied formatting choices.
3. Once you’ve picked a style you like, invoke the New Style from the Selected Topic command in the Topic Styles pane.
4. The Topic Styles pane will open. Use this pane to manage all of your different styles.
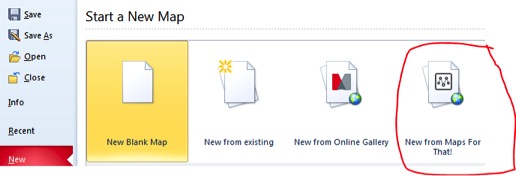
9. Maps For That!
Not sure where to begin? Use the Maps For That feature to get inspired by maps submitted by the extended Mindjet MindManager community. Download a map and use it as a template for getting started.
Steps:
1. Go to File > New > Start a New Map
2. Select ‘New’ from Maps For That
3. Choose from a wide variety of categories!
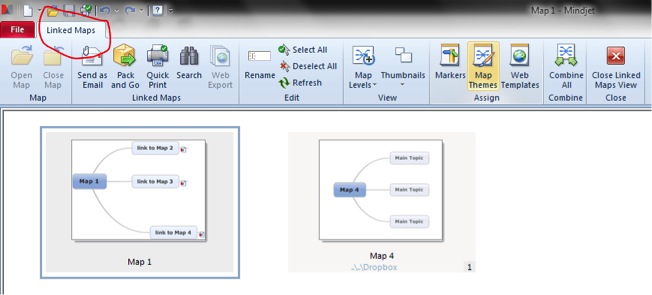
10. Linked Maps View
Like many of us, I use a handful of master maps as dashboards, linking them to working sub-maps. When I need an overview of my whole project, I use the Linked Maps View feature.
Steps:
1. Open a map with other maps as links, or start this process from scratch. Hint: I start with my dashboard map and link from there.
2. Go to View > Linked Maps. Notice the entirely new Ribbon interface for the View.
Dig this article? You might also want to check out Nine Easy Steps to Successfully Sharing Your Mind Maps.
[swippjs type=”1″ term_id=”15650164″ widget_key=”3ffea05e-797b-4b2d-a3c9-7475b98ebcda”]